Relevant to: faculty, staff, and students
This article contains information considered accurate at the time of publishing. Technology updates, changes in University security practices, and/or policies and procedures may affect the information in this article - updates to articles are scheduled on a periodic basis and will address any required changes.
Overview
This guide is to help you get started with your Chromebook.
Getting Started
Plug your Chromebook into the power supply, and leave it plugged in during the entire setup process. You will also need to know the name and password for the Wi-Fi you are going to be using.
Step 1.
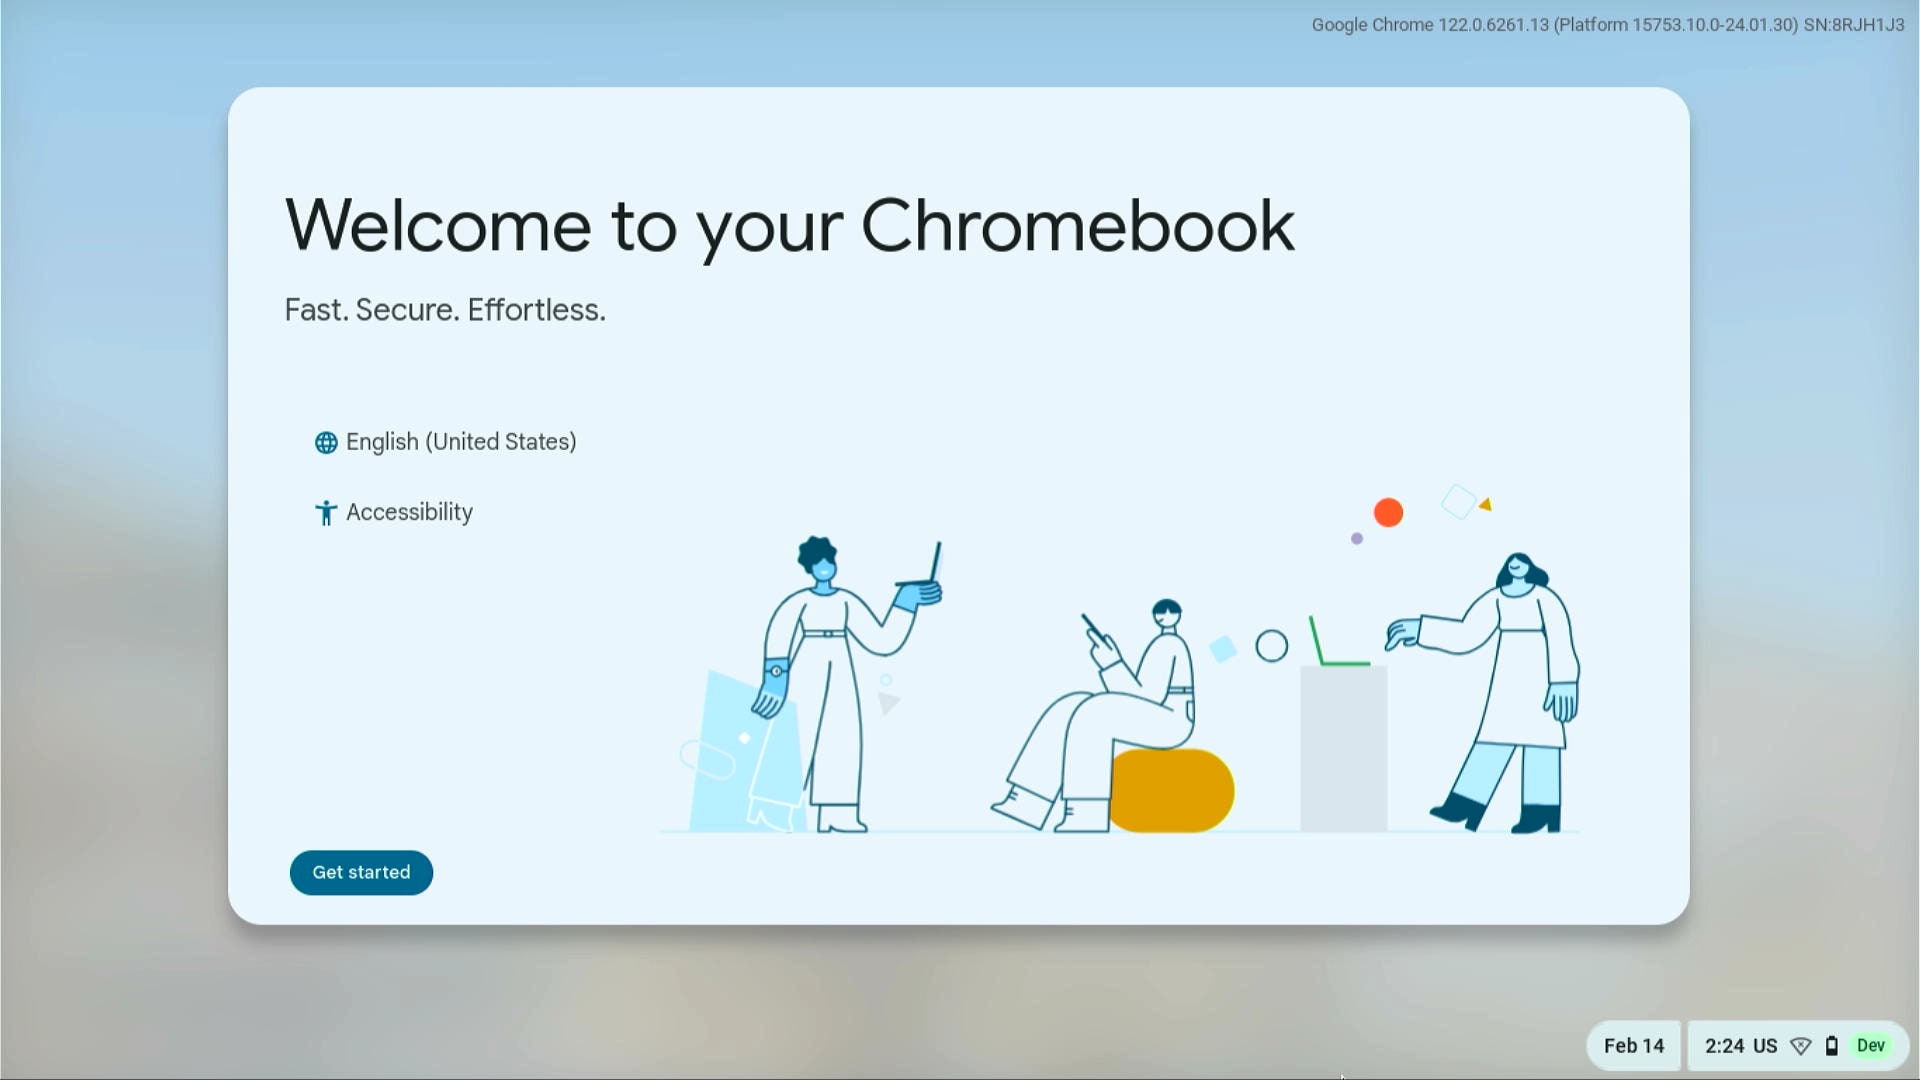
Power up your Chromebook.
Step 2.
Select Get Started on the Welcome to your Chromebook screen.
Step 3.
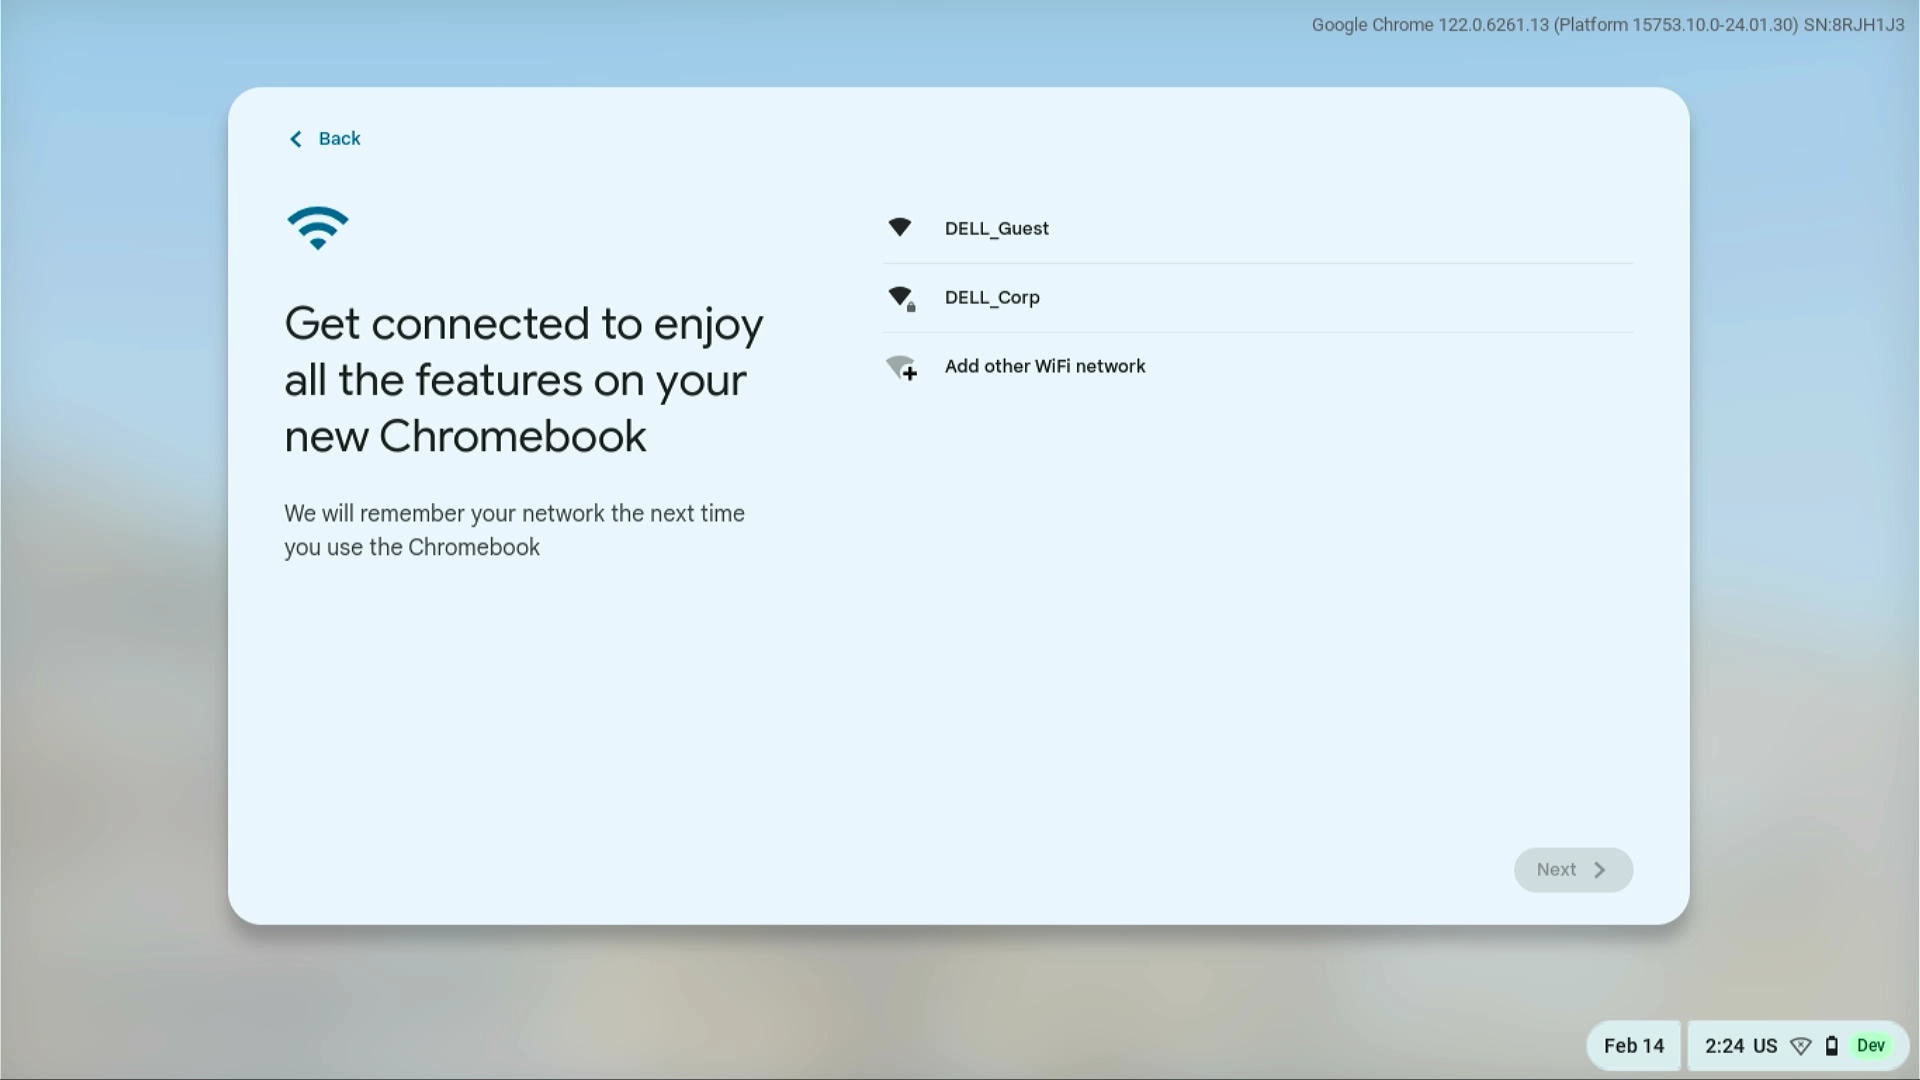
Next you will be prompted to connect to your wireless network. Select your home or work network from the list and provide the wireless key or password to connect. If your device is connected using a wired connection, the connection occurs automatically.
Step 4.
Select For personal use.

Step 5.
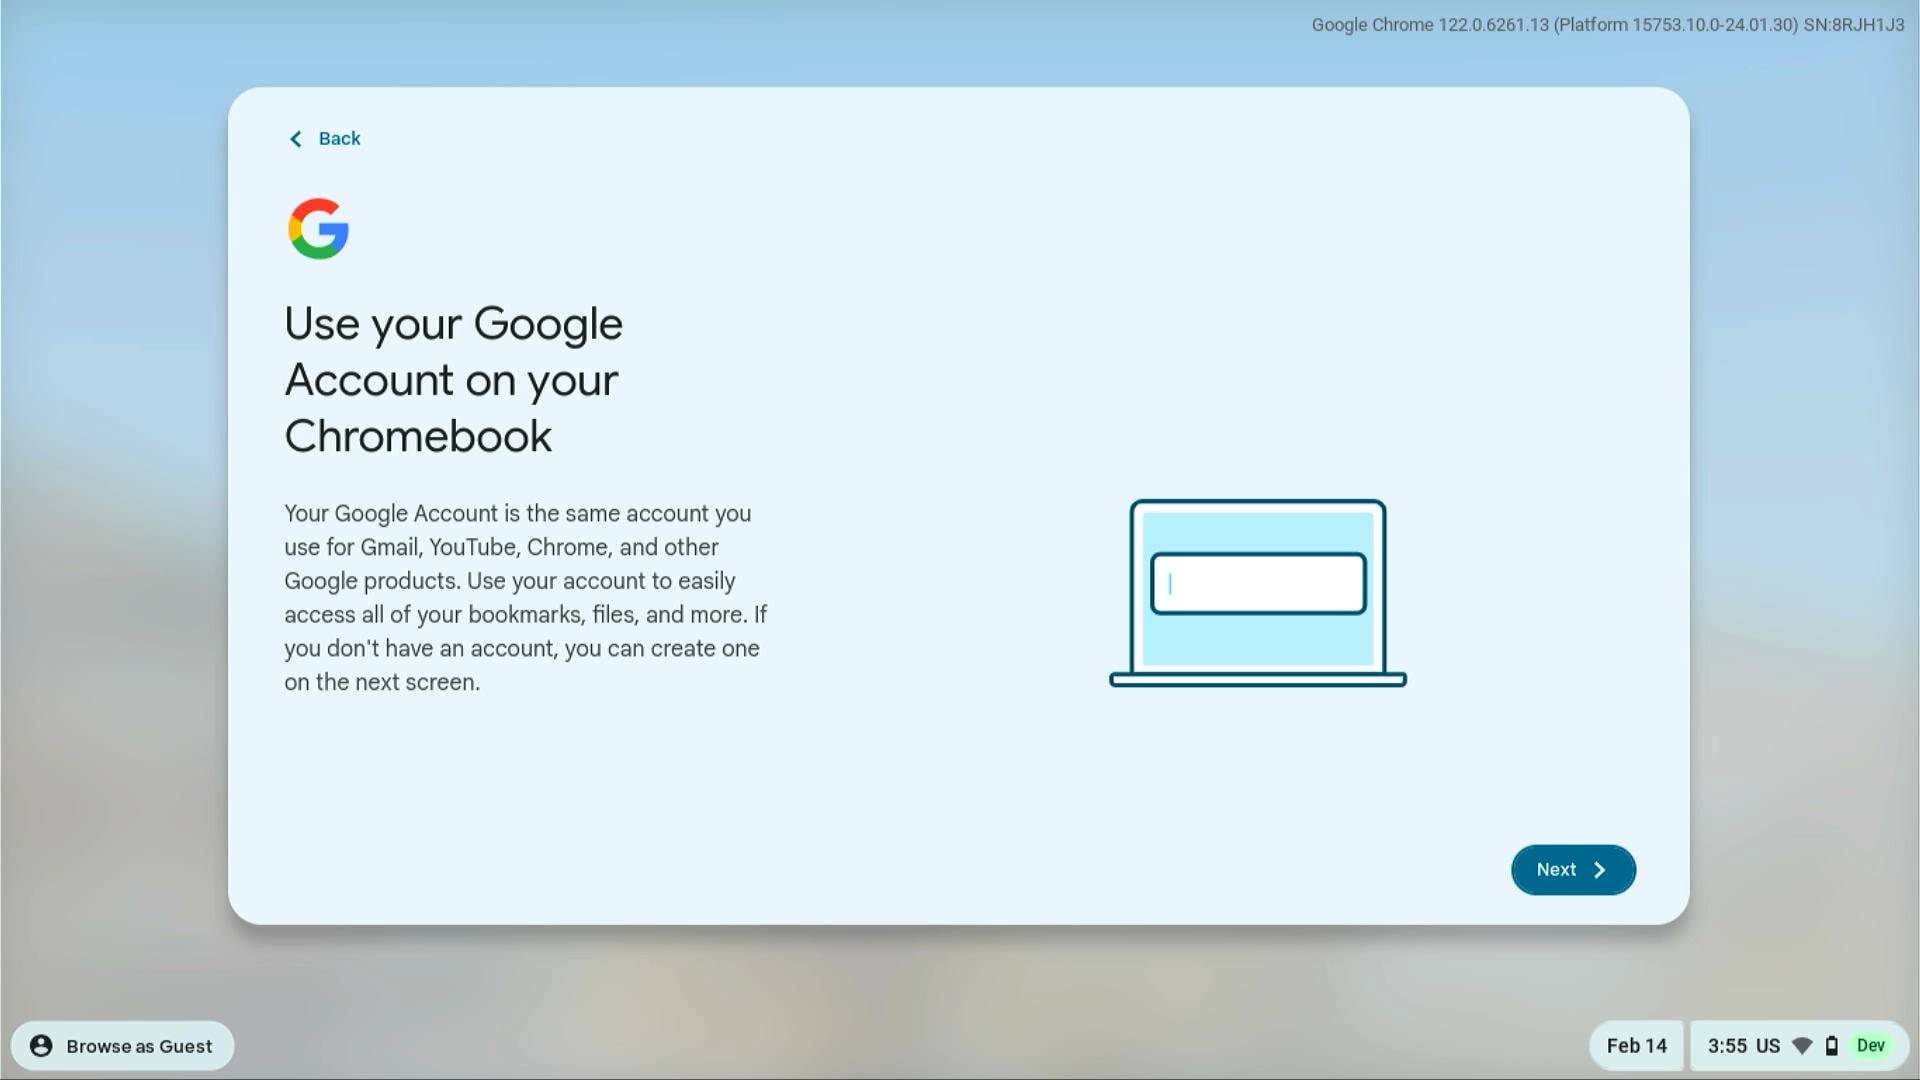
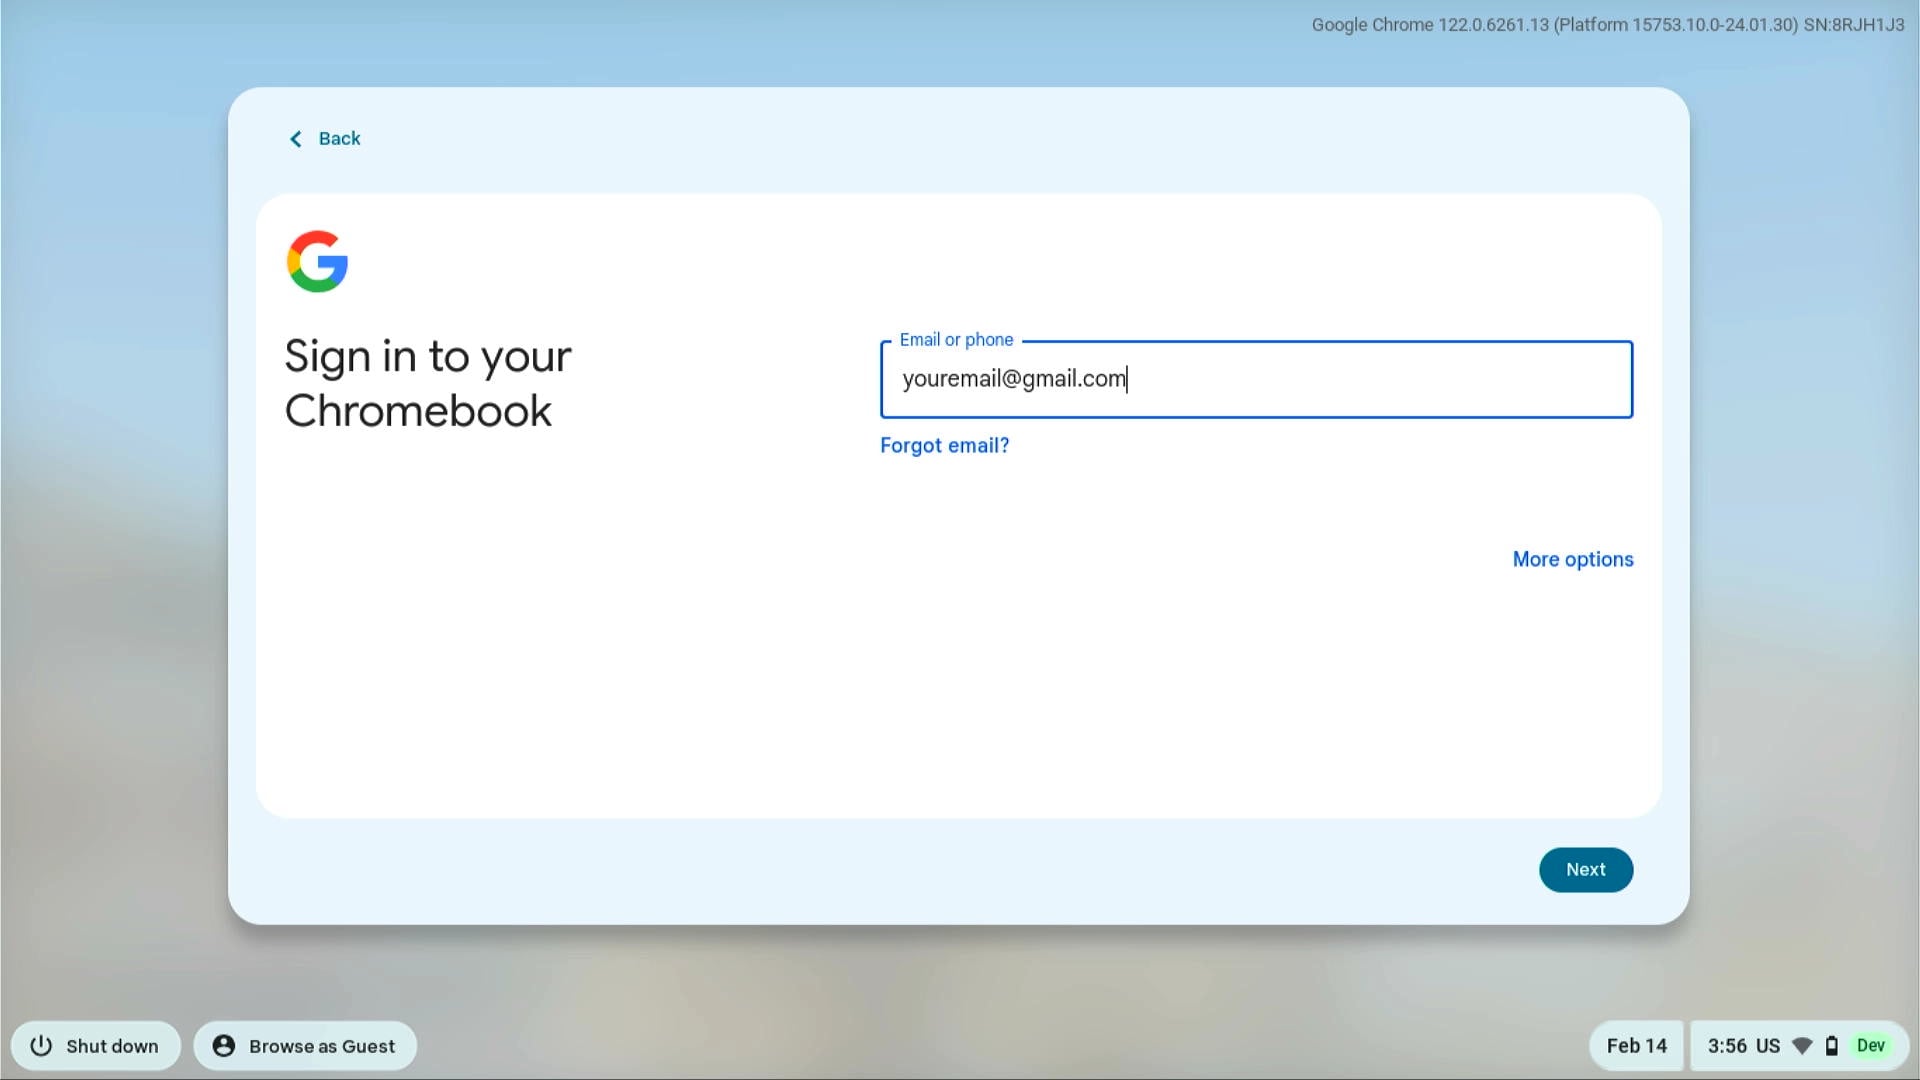
Sign in to your Google Account. Your Google Account is the same account you use for Gmail, YouTube, Chrome, or other Google products. To begin, select Next, enter your email address and then select Next.
If you don’t have a Google Account, select More Options, and then select Create New Account.
Very Important: Do not use your SUNY Empire email account to either sign in, or create a new account. It will prevent you from using your Chromebook.
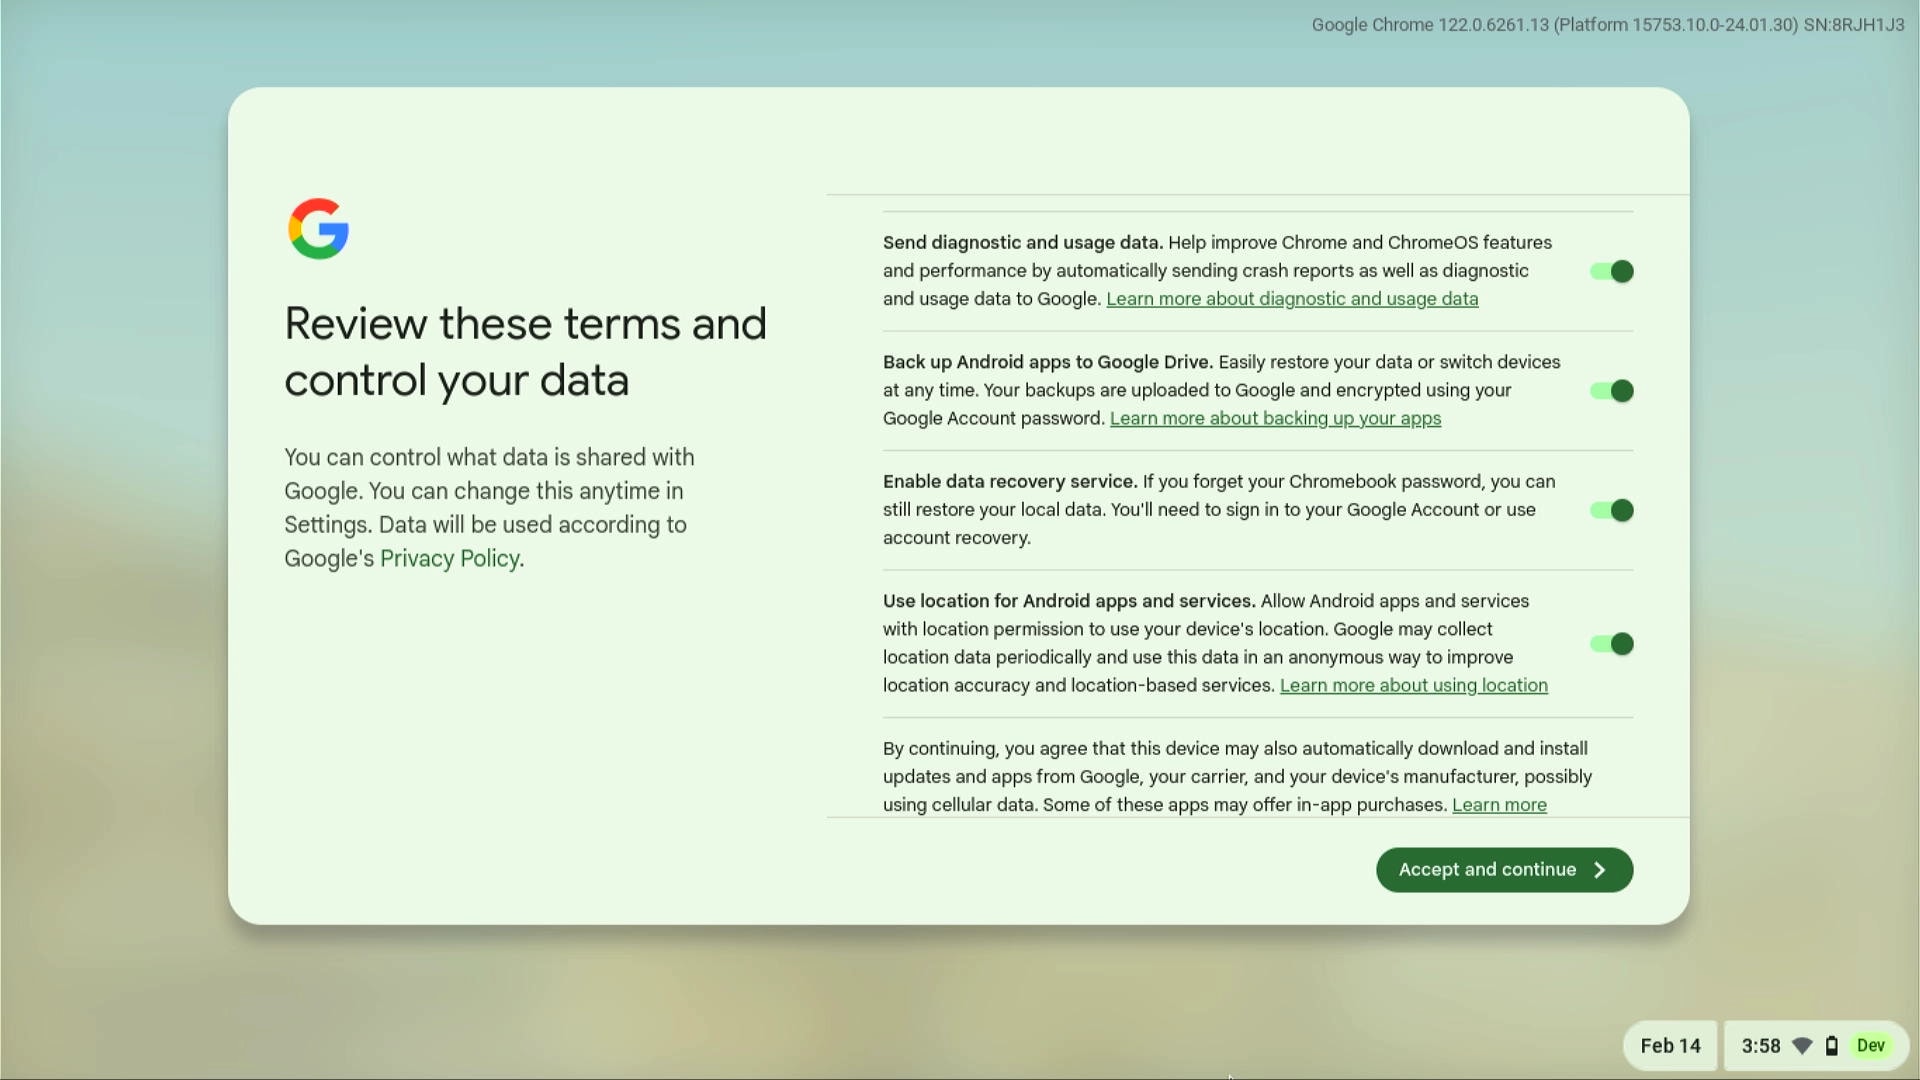
Step 6.
Review the terms and conditions. You have control over what data is shared with Google and you can change this anytime in Settings. To continue setting up your Chrome device, review the terms and conditions, then select Accept and continue.
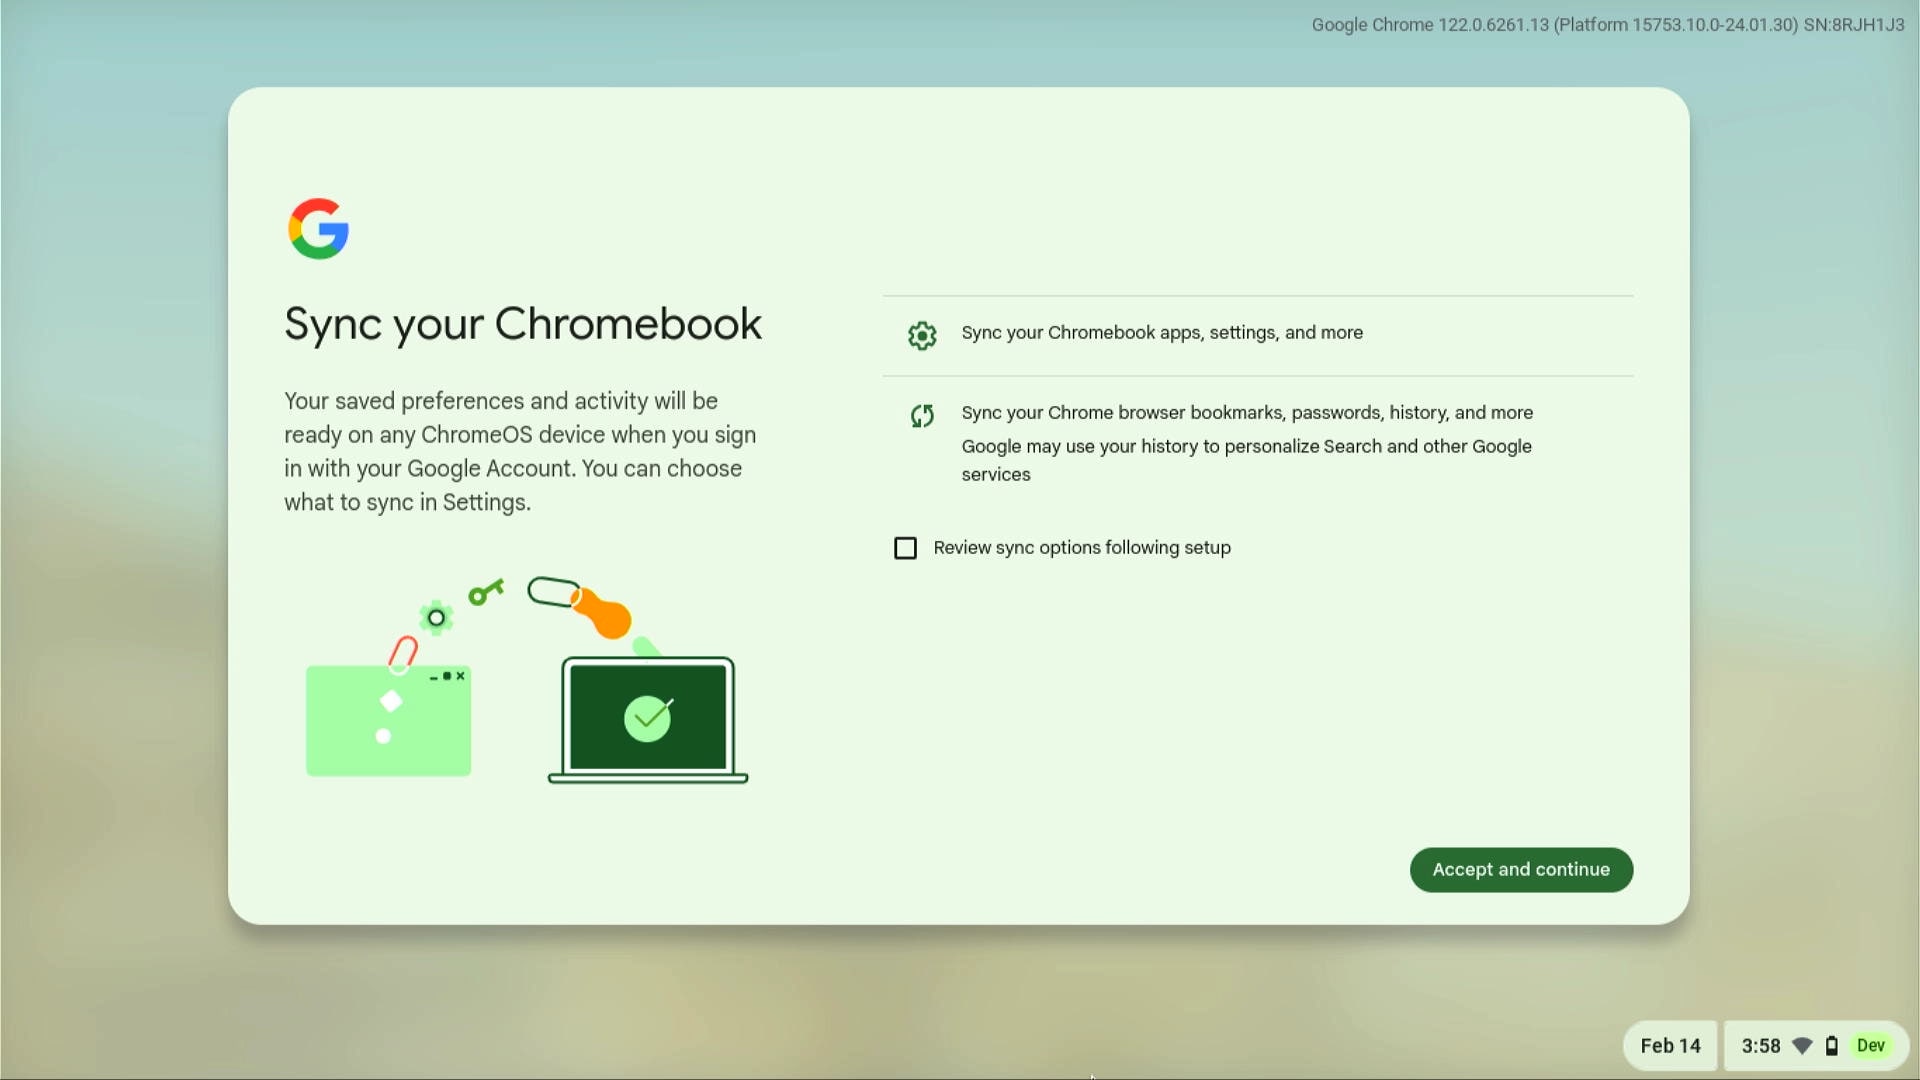
Step 7.
Set up sync settings. Your saved preferences and activity will be ready on any ChromeOS device when you sign in with your Google Account. You can choose what to sync in Settings. To sync your Chrome device apps, settings, Chrome browser bookmarks, passwords, history, and more, select Accept and continue.
Step 8.
Secure your device with a PIN. Use a PIN number instead of a password to unlock your device. PIN must be at least 6 digits. Enter your preferred PIN and select Next. In the next screen, type your PIN again and select Next to confirm. Once your PIN has been successfully added, select Done.

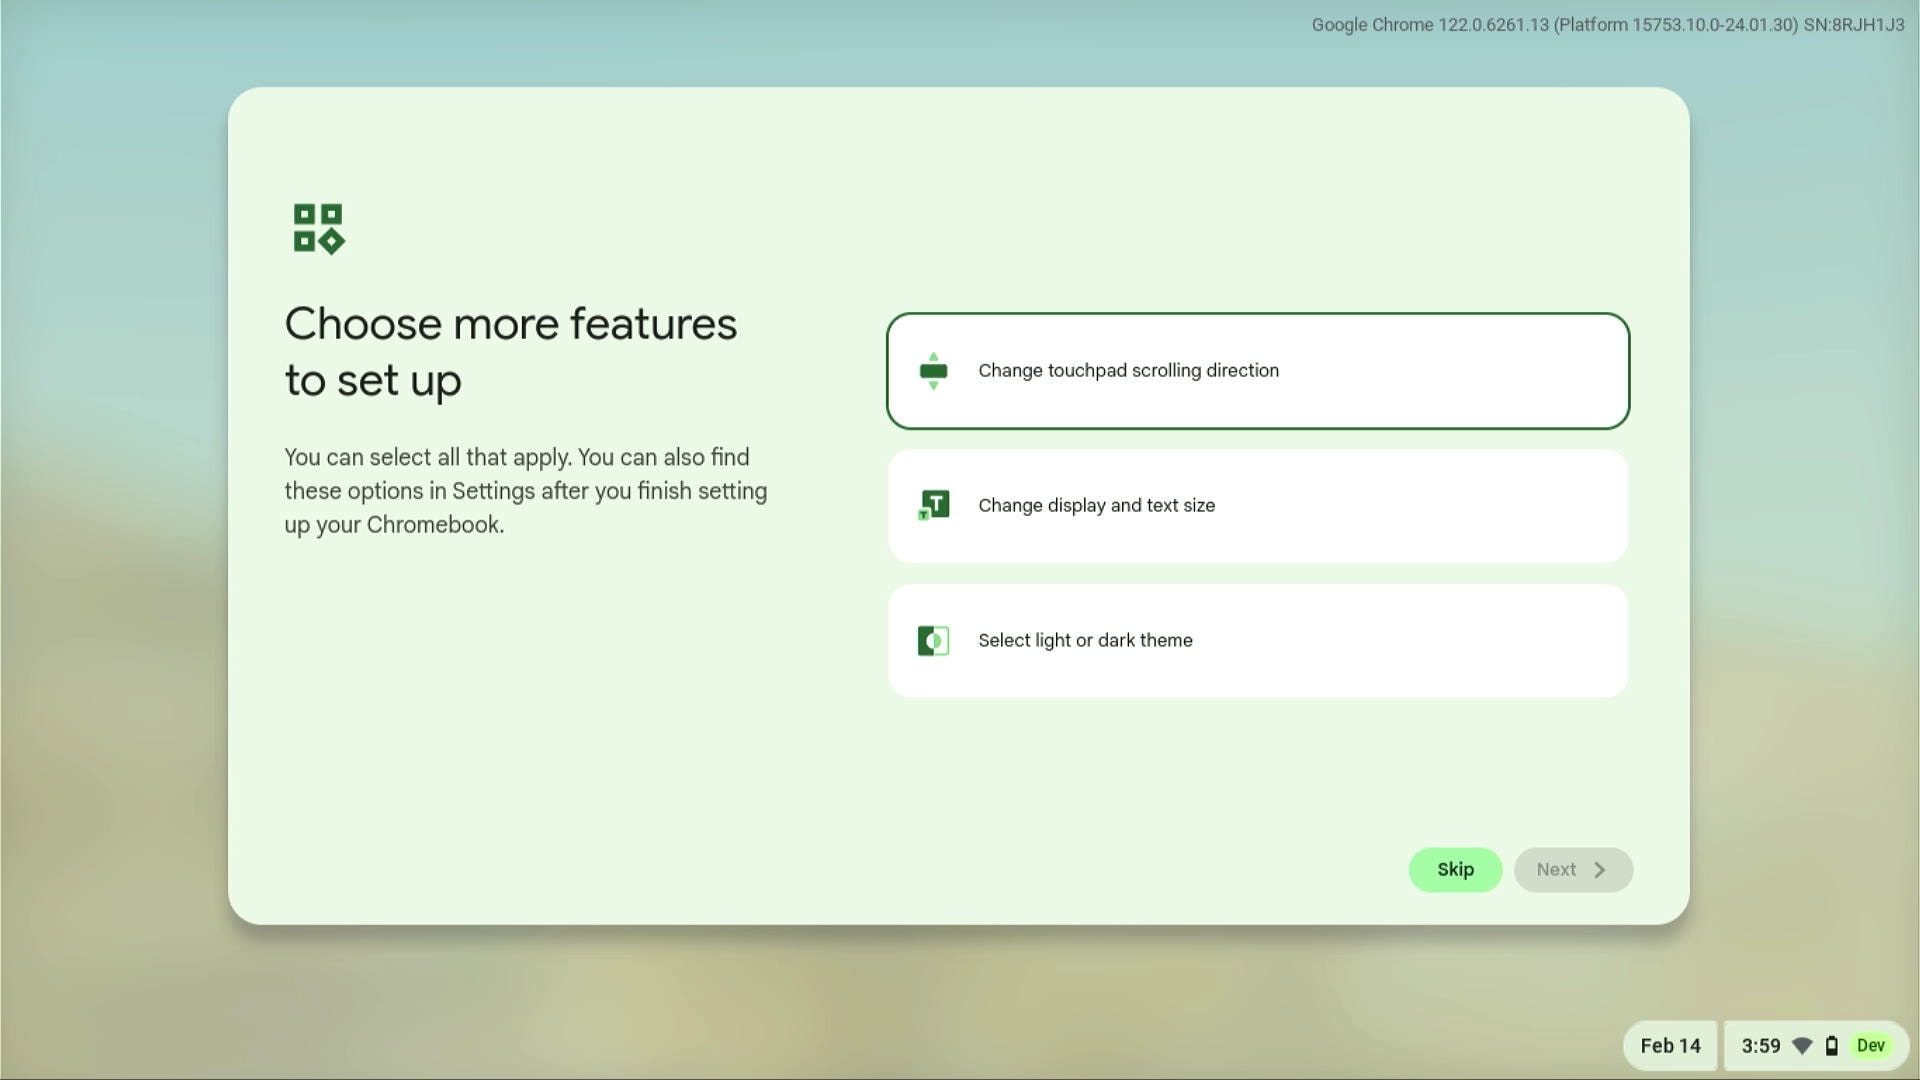
Step 9.
Select touchpad, display, text size, and theme. You can choose to change the touchpad scrolling direction, change display and text size, and select light or dark theme. Choose the settings that you want to customize and select Next. Follow the onscreen instructions to customize each feature that you choose.
To change these settings after you finish setting up your Chrome device, select Skip and then access these options in Settings.
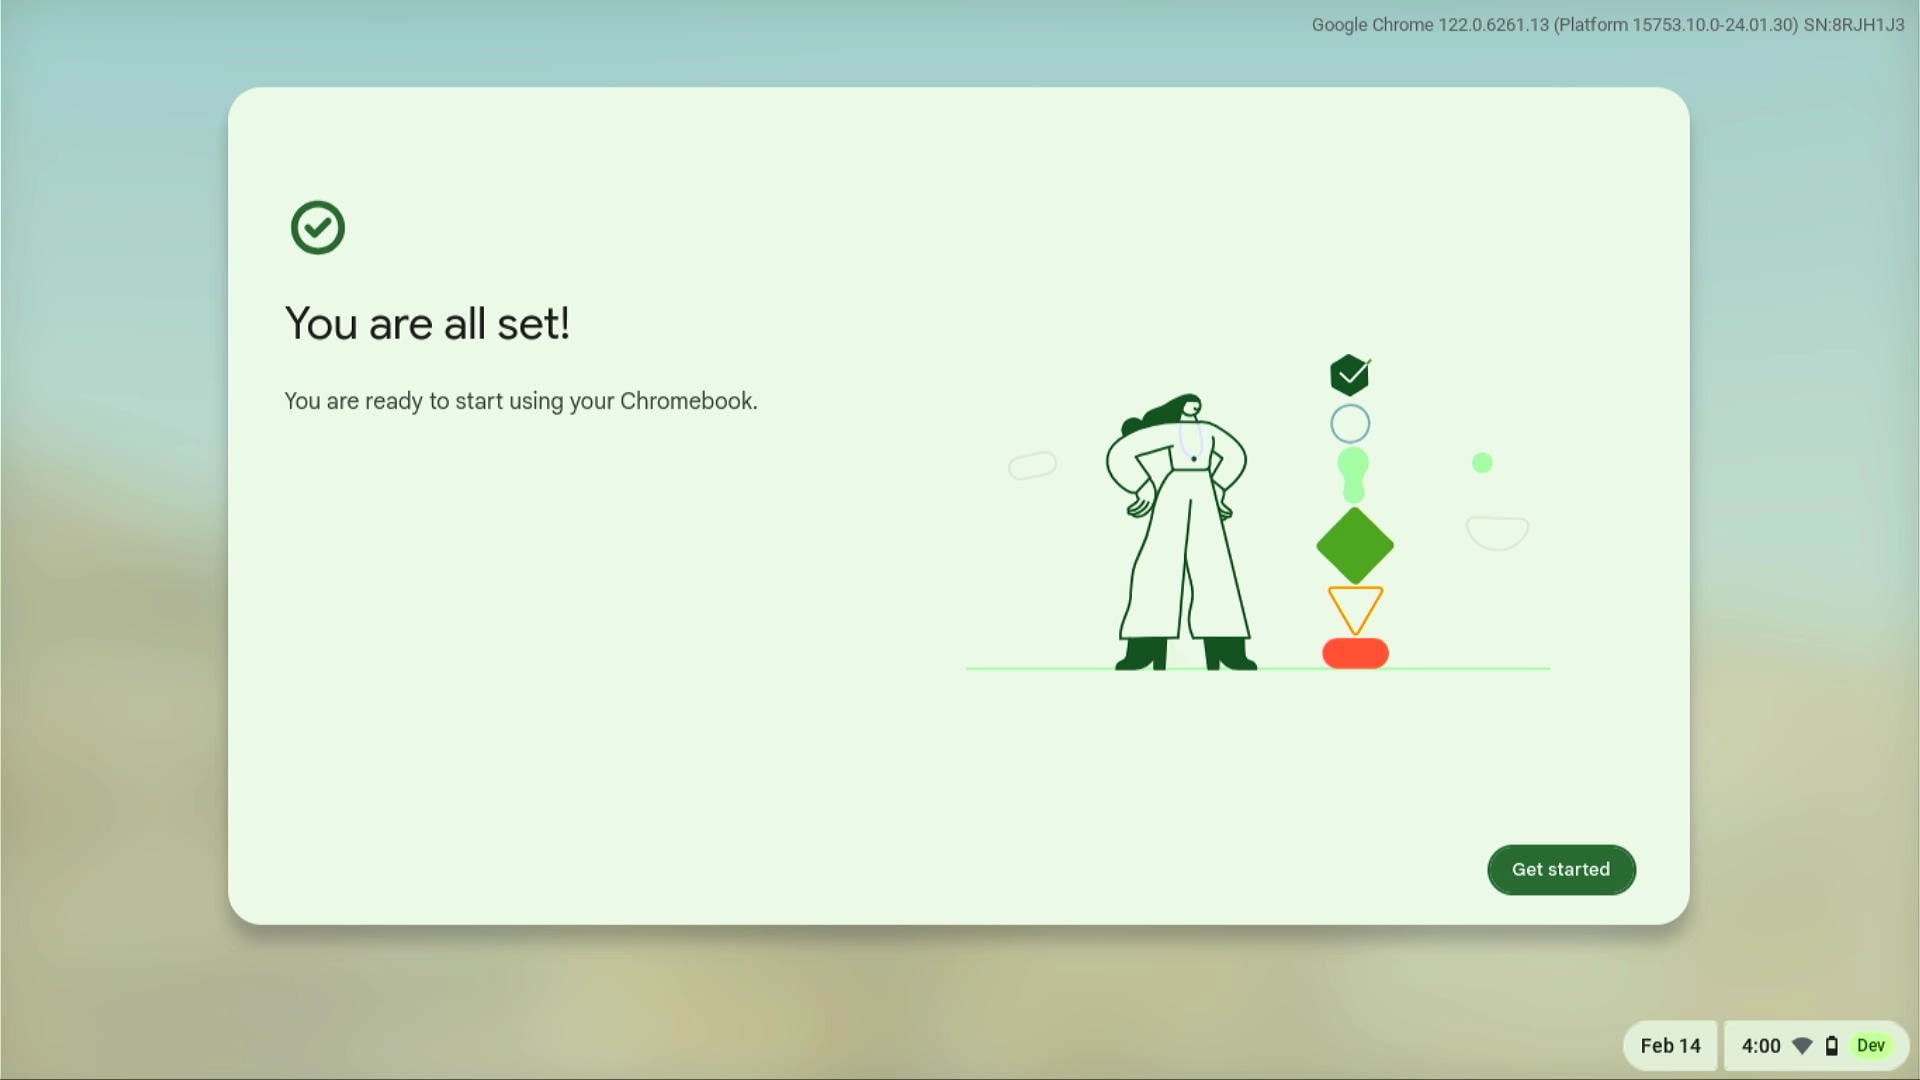
Step 10.
You are all set! You are ready to start using your Chrome device. Select Get started.
Additional Information
Need additional information or assistance? Contact the ITS Service Desk.
You can also navigate to the Dell ChromeOS Support page.